A Beginner’s Step-by-Step Guide to Sew on Patches
- Home
- Casual Wear
- A Beginner’s Step-by-Step Guide to Sew on Patches
A Beginner’s Step-by-Step Guide to Sew on Patches
Do you have a favorite shirt or jacket with a hole? It’s frustrating to see your clothes ruined. Throwing them away feels wasteful, and buying replacements can be expensive. At Precision Alterations, we understand the importance of making garments last. Even small tears or worn spots can ruin the look of your everyday clothing.
Sew-on patches fix this problem quickly and effectively. They cover holes, reinforce weak areas, and give your clothes a neat, professional finish. Unlike iron-on patches, sew-on patches stay secure through washing and daily wear.
In this guide, you will learn step by step how to sew a patch properly. From choosing the right tools to stitching neatly, we make it easy to repair and refresh your clothes. Just like how we handle bridal gown alterations Tucson, bridesmaid dress tailoring, or suit alterations near me, precision makes all the difference.
Whether it’s a denim jacket, a cozy sweater, or a casual shirt in Phoenix, Tucson, or beyond, this guide helps you save your favorite clothes and keep them looking their best.
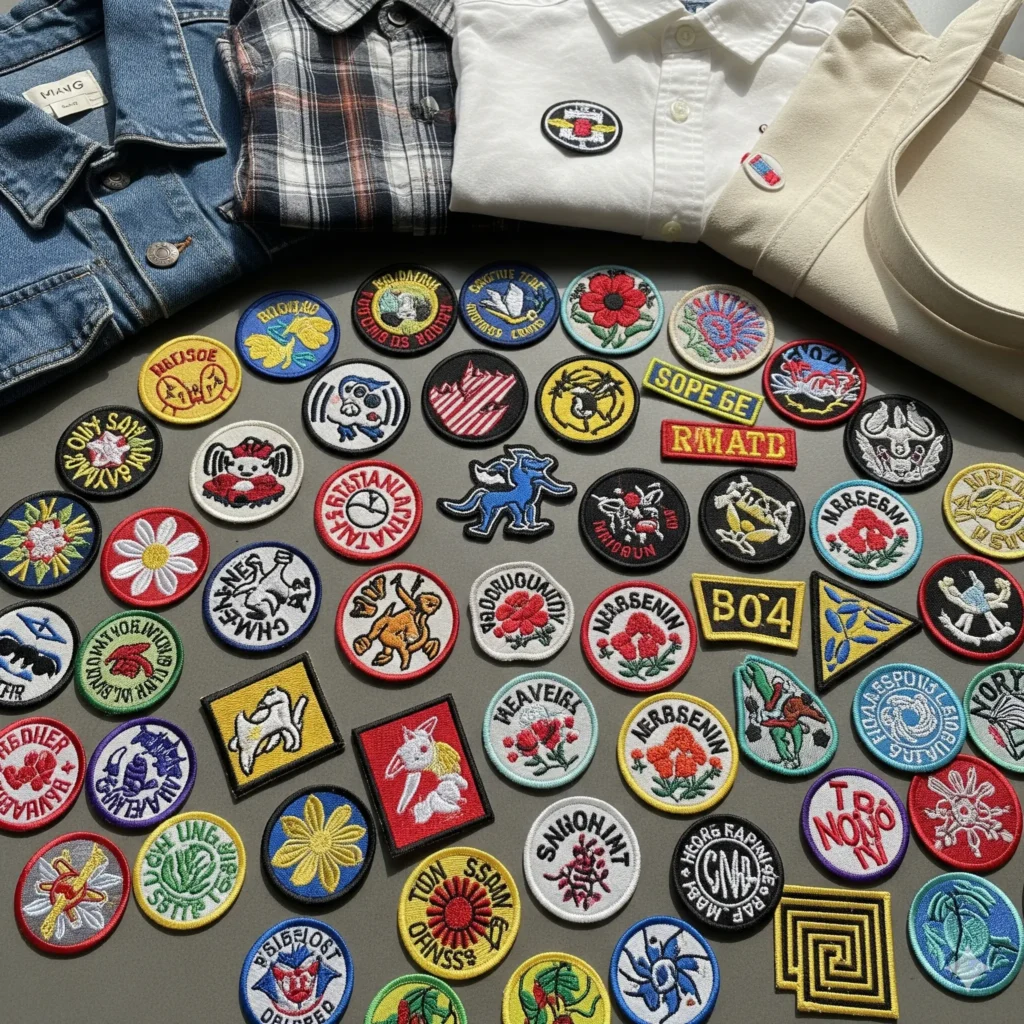
What Are Sew-On Patches?
A sew-on patch is a piece of fabric designed to cover holes, worn areas, or add style to your clothes. They come in many types: embroidered, woven, or novelty designs. Each patch is stitched directly onto the garment, ensuring it stays secure even after repeated washes.
Unlike iron-on patches that rely on adhesive, sew-on patches never peel or fade. This makes them perfect for repairing your favorite jeans, jackets, shirts, or bags. They are strong, durable, and give a professional, polished look.
Using sew-on patches keeps your clothes wearable for longer, saving money and reducing waste. It’s a simple way to refresh old items and restore confidence in your everyday wardrobe.
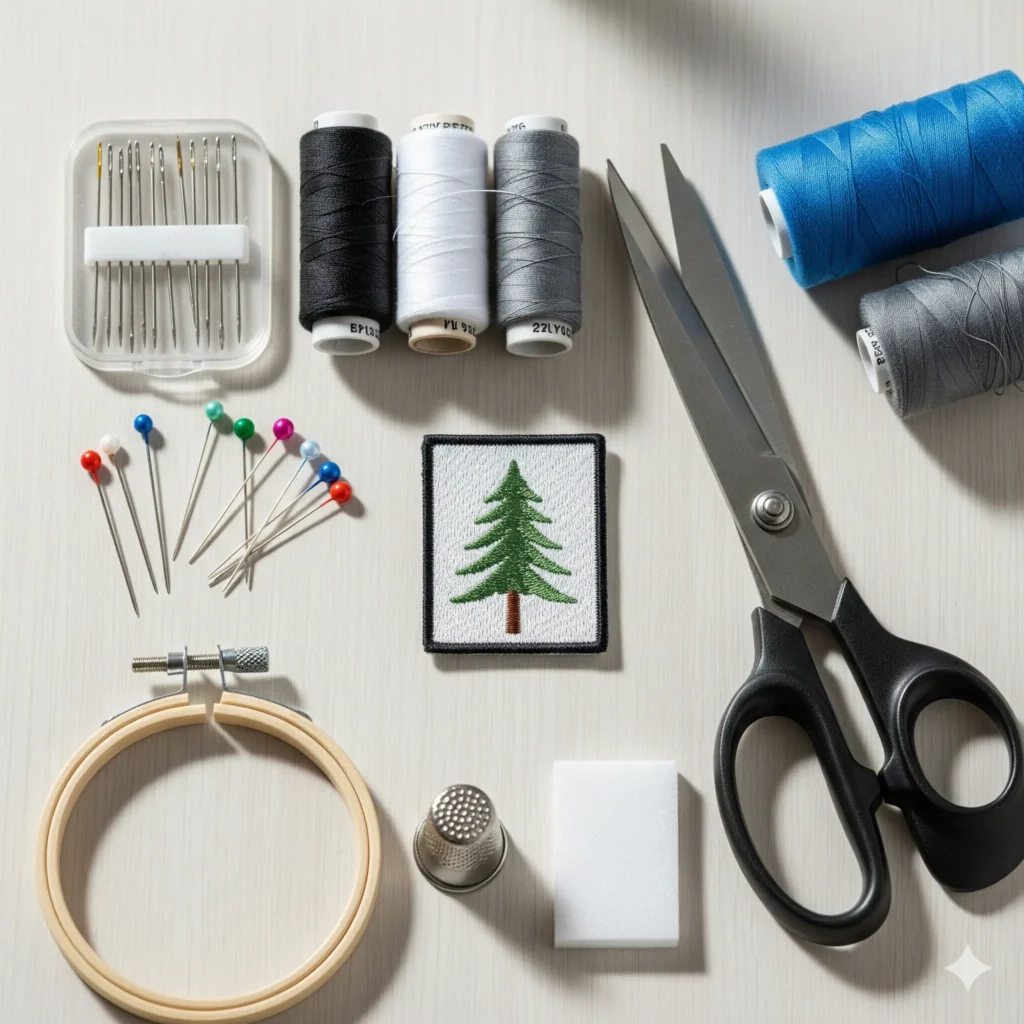
Tools and Materials You’ll Need for Sewing
Before you start, gather the right tools. Using proper materials makes sewing easier and ensures a clean, long-lasting finish.
Essential Tools:
- Needle: Choose a sharp needle suitable for the fabric.
- Thread: Use strong polyester or nylon thread for durability.
- Scissors: Sharp scissors for trimming threads and cutting patches.
- Pins: To hold the patch in place while you sew.
Optional Tools:
- Embroidery hoop: Keeps fabric taut and prevents puckering.
- Fabric stabilizer: Adds support for delicate or stretchy fabrics.
- Thimble: Protects your fingers when pushing the needle.
Tips for Choosing Your Patch:
- Pick a patch slightly larger than the hole or worn area.
- Match the patch fabric to your clothing type for a seamless look.
- Consider color and design to enhance the garment instead of just covering damage.
Tips for Preparing Your Fabric and Patch
Wash and Iron Your Clothing
Clean the garment first to remove dirt or oils that can affect stitching. Iron the area around the hole or worn spot to smooth wrinkles and create a flat surface for the patch.
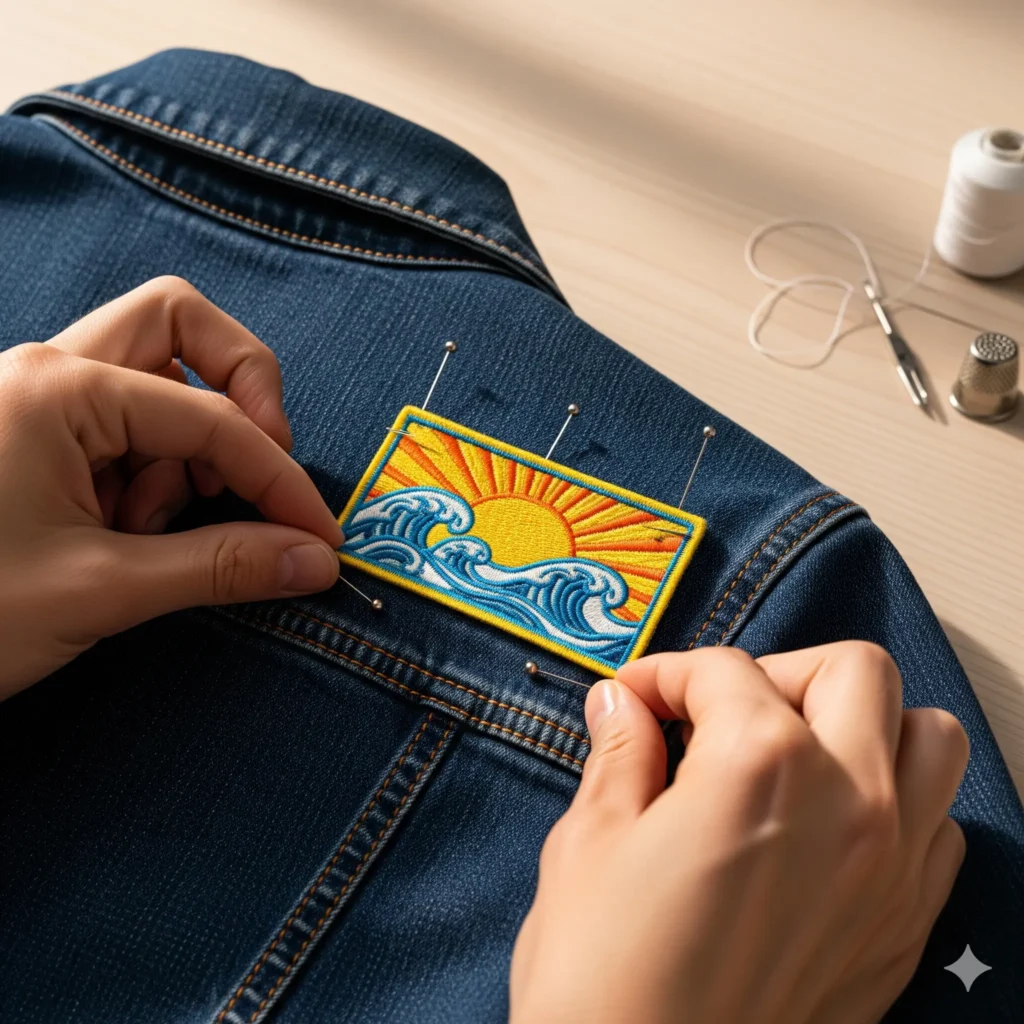
Position the Patch
Place the patch exactly where you want it. Ensure it fully covers the damaged area and is aligned straight for a professional look.
Secure the Patch
Use pins to hold the patch in place. You can also use temporary adhesive or fabric glue for extra stability. Be careful not to stretch the fabric while securing to prevent puckering.
Step-by-Step Guide to Sewing on Patches
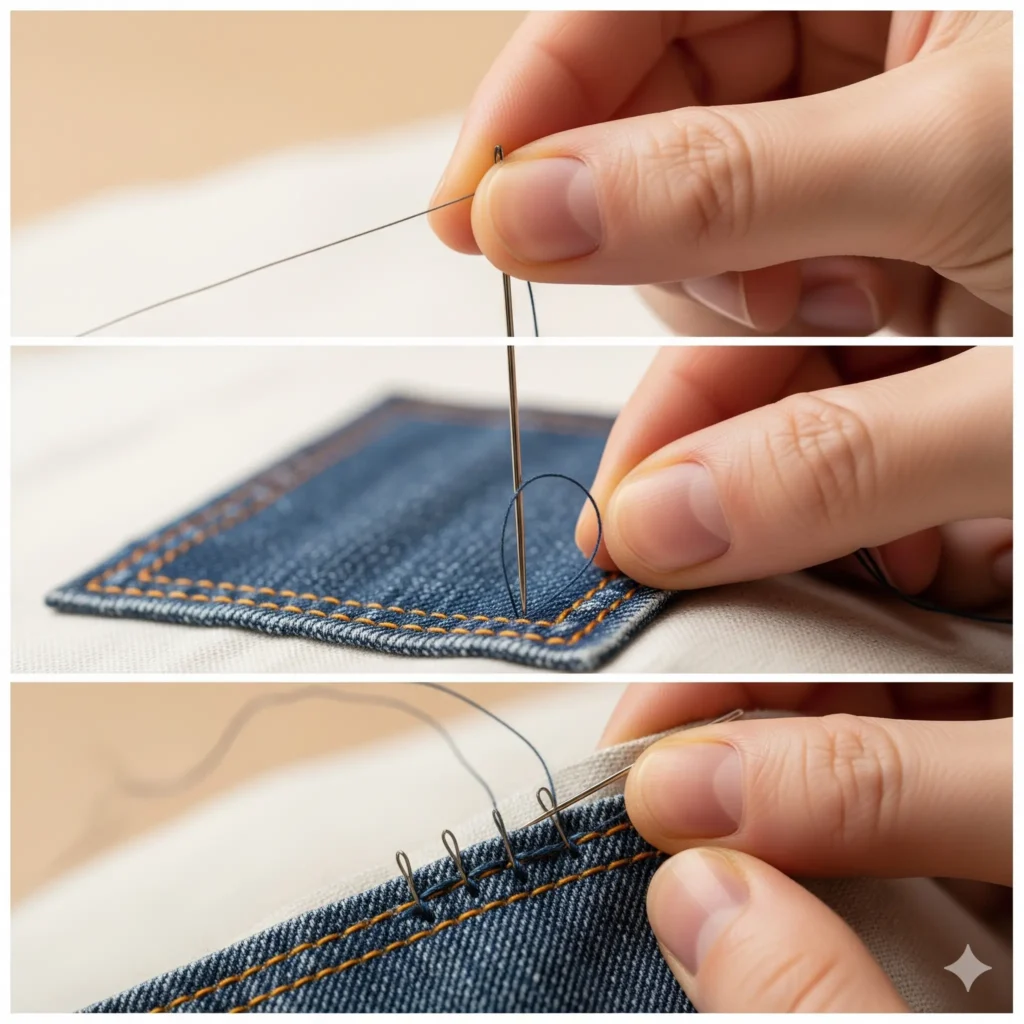
Threading the Needle & Knotting
Select a strong polyester or nylon thread that matches or complements your patch and garment. Cut a length of about 18–24 inches long enough to sew comfortably, but not so long that it tangles.
Thread the needle carefully, pulling the thread through until the ends meet. Double the thread for extra strength if the fabric is heavy or the patch is large. Tie a secure knot at the end of the thread. This prevents slipping and ensures your first stitch stays anchored.
Starting the Stitch
Place the patch exactly where you want it. Smooth the fabric beneath it to avoid wrinkles or puckering. Begin sewing at one corner of the patch. Insert the needle from the backside of the fabric so the knot stays hidden.
Pull the needle through gently and make your first stitch along the patch’s edge. Keep your stitches small, about 1/8 to 1/4 inch apart, for a clean, professional look.
Sewing Around the Patch
Continue stitching around the patch carefully, following its edges. Use a straight stitch for a classic, neat finish, a whip stitch for visible, slightly decorative edges, or a zigzag stitch for extra reinforcement on stretchy or delicate fabrics. Pay attention to corners pivot the fabric slightly to maintain straight lines.
On curves, take shorter, even stitches to prevent gaps. Keep your tension consistent: too tight pulls the patch and puckers the fabric; too loose makes it floppy.
Finishing the Stitch
Once you’ve sewn all the way around, bring the needle to the backside of the fabric. Tie a secure knot to anchor the thread. Trim any excess thread carefully with scissors.
Check the patch from the front to make sure it lies flat, is properly aligned, and looks polished. If needed, press lightly with an iron on low heat to remove any minor wrinkles, being careful not to damage the patch or fabric.
Tips for a Professional Finish
Achieving a professional-looking patch doesn’t have to be difficult. Follow these tips to ensure your sew-on patches look neat, durable, and stylish every time.
Keep Stitches Consistent
Use small, even stitches around the patch. Consistent stitch length and spacing create a clean, polished appearance. Avoid pulling the thread too tight, which can distort the fabric.
Reinforce Corners
Corners are the first spots to lift or fray. Sew extra stitches at each corner to secure the patch firmly. This ensures it stays in place even after multiple washes or daily wear.
Choose Thread Wisely
Select thread that matches the patch for a subtle, seamless look. For a bold, creative style, contrasting thread can add flair. The right thread enhances the patch while keeping it durable.
Prevent Fabric Puckering
Smooth the fabric and patch before stitching. Avoid stretching the fabric while sewing. This prevents puckering and keeps the patch flat, professional, and long-lasting.
Following these simple steps mirrors the precision used in bridal gown alterations Tucson, bridesmaid dress tailoring, and suit alterations near me, giving your everyday clothing the same expert care professionals trust.
Common Mistakes to Avoid while sewings
Even small errors can ruin the look of your sew-on patches. Avoid these common mistakes to achieve a clean, professional finish.
Not Securing the Patch
Always pin or temporarily adhere the patch before sewing. Moving patches lead to crooked or uneven stitches.
Using Weak Thread
Thin or low-quality thread can break easily. Use strong polyester or nylon thread for durability.
Ignoring Fabric Type
Different fabrics require different techniques. Stretchy or delicate fabrics need careful handling to prevent damage.
Pulling Stitches Too Tight or Too Loose
Too-tight stitches can pucker the fabric. Too-loose stitches make the patch floppy. Keep your tension consistent for a polished result.
By avoiding these errors, your patches will stay secure, look professional, and last longer, just like expert bridal gown alterations Tucson or suit alterations near me.
Creative Ways to Use Sew-On Patches
Sew-on patches are not just for repairs—they are a fun way to personalize your clothing and accessories. Add patches to jackets, jeans, hats, or backpacks to make everyday items unique.
Show your pride with team logos, club patches, or morale patches. They are perfect for sports teams, clubs, or special events.
You can also explore DIY craft projects. Create gifts for friends and family by decorating tote bags, aprons, or even home textiles. Patches allow endless creativity while keeping your items durable and stylish.

FAQ Section
Can I sew a patch on a knit fabric?
Yes. Use a stabilizer or embroidery hoop to prevent stretching. Short, even stitches work best.
How long do sew-on patches last?
With proper stitching and care, patches can last for years, even on frequently worn garments.
Can I remove a patch without damaging clothing?
Yes, carefully cut the stitches from the back using small scissors or a seam ripper.
Is it better to hand-sew or machine-sew?
Hand-sewing gives precise control and works well for small areas. Machine-sewing is faster for larger patches or durable fabrics.
Can you sew patches on leather?
Yes, patches can be sewn onto leather, but it often requires stronger needles and special thread suitable for leatherwork.
Final thoughts
At Precision Alterations, we believe every garment deserves attention and care. Sew-on patches are a smart, lasting way to repair or refresh your favorite clothes. They bring durability, a polished finish, and a touch of style without replacing the pieces you love.
With the step-by-step guidance, essential tools, and expert tips you’ve learned, it’s time to take action. Begin with a small patch, explore placement, and experience the satisfaction of a perfectly sewn repair.
Discover high-quality patches and sewing kits to get started today. Transform worn or damaged clothing into polished, professional pieces just as we do with every tailored alteration at Precision Alterations.
SUBSCRIPTION
Subscribe to our newsletter
Store Hours Phoenix
Monday – Friday
10:00am – 06:00pm
Saturday
10:00am – 04:00pm
Sunday
Off
Tucson Store Hours
Monday – Saturday
09:00am – 07:00pm
Sunday
11:00am – 05:00pm
Contact Us
- +602 2750599
- precisionalterations@yahoo.com
- Arcadia Crossing 4539 E. Thomas Road, Suite 104, Phoenix, AZ 85018